
Compress Image to 200KB Online Effortlessly
Multiple files OK
Add images using the panel on the left.
They'll appear here ready to compress.
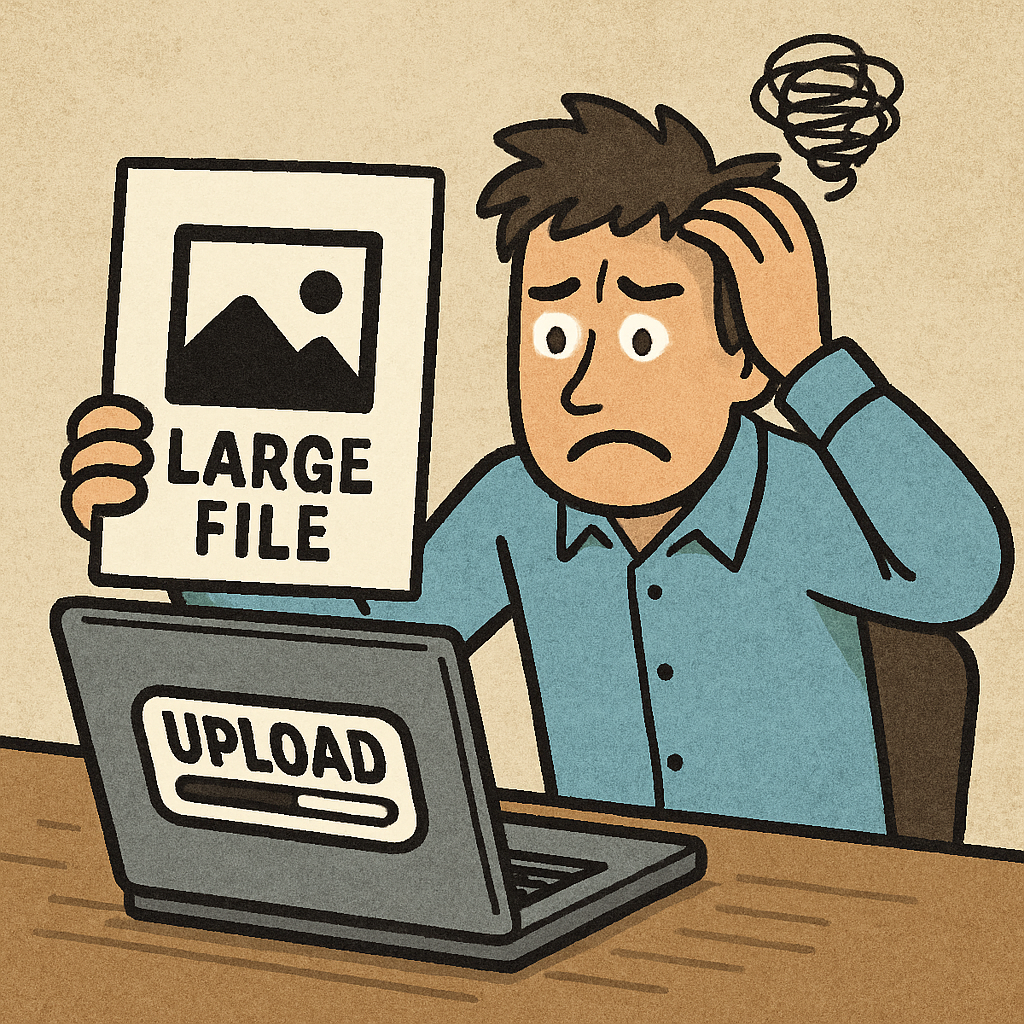
Have you ever tried to upload a resume, submit a government document, or update your website, only to be stopped dead in your tracks by a frustrating error message? “File too large. Maximum allowed size is 200KB.”
In an era where modern smartphone cameras snap photos that easily exceed 5MB or even 10MB, bridging the gap between high-resolution photography and strict web upload limits can feel like an impossible task. Learning how to Compress Image to 200KB is a fundamental digital skill that saves time, storage space, and endless frustration.
Whether you are a job seeker trying to reduce photo file size for online forms, or a webmaster looking to optimize graphics for faster page load times, this comprehensive guide will walk you through the entire process. By the time you finish reading, you will know exactly how to compress an image to 200kb quickly, securely, and beautifully.
Why 200KB is the Magic Number
You might wonder why so many portals and platforms require you to compress image to less than 200kb. The reasoning comes down to server storage limitations and user experience.
When millions of users upload files to a database—such as a university admissions portal or a visa application site—hosting those files becomes incredibly expensive. Limiting files to 200KB ensures servers run smoothly without crashing. Furthermore, for website owners, smaller files mean lightning-fast loading speeds, which is a critical factor for both user retention and search engine rankings.
Before we jump into the tools, you need to know your starting point. Knowing how to check image file size on windows and mac is step one.
- On Windows: Simply right-click your image file and select “Properties.” The size will be displayed right on the general tab.
- On Mac: Right-click (or Control-click) the image and select “Get Info.” Look for the “Size” indicator in the top right corner or under the General section.
If your photo is sitting in the megabyte range, it is time to decrease photo megabytes to kilobytes.
The Science of Image Compression
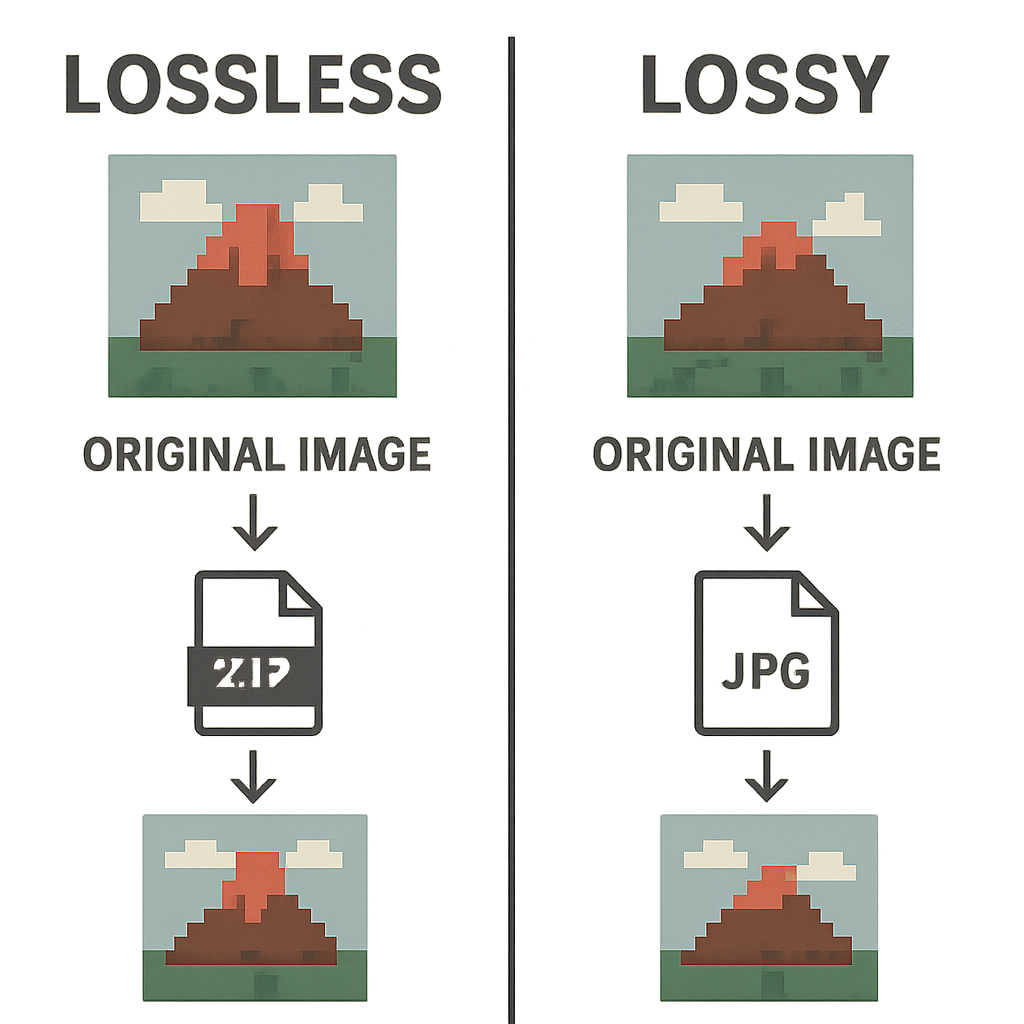
To truly master photo optimization, it helps to have lossless vs lossy compression explained in practical terms.
- Lossless Compression: This method reduces file size by reorganizing data without stripping away any visual information. When uncompressed, the image is identical to the original. While great for archiving, lossless compression rarely reduces a 5MB photo down to 200KB.
- Lossy Compression: This method permanently removes some of the data in your image—typically color information that the human eye cannot easily detect. For heavy reductions, lossy compression is your best friend.
Essential Factors for Shrinking Files
If you are wondering how to shrink jpeg to specific kb targets without ruining the picture, you have to manipulate three main elements:
- Resolution and Dimensions: You do not need a 4000-pixel wide photo for a tiny profile picture. By utilizing tools to adjust image dimensions and resolution, you instantly slash the file size.
- Pixel Density: Keep in mind the ideal pixels per inch for digital display. While print requires 300 PPI (Pixels Per Inch), digital screens only need 72 to 96 PPI. Lowering the PPI drastically shrinks your file.
- Hidden Data: Every time you snap a picture, your camera attaches hidden text (EXIF data) detailing the camera model, GPS location, and exposure settings. Employing image metadata removal to reduce size ensures you aren’t wasting valuable kilobytes on invisible text.
Choosing the Right File Format
Not all image formats are created equal. If you are dealing with a massive PNG file, you might struggle to hit your size target. PNGs are fantastic because they support transparent backgrounds, but they are notoriously heavy.
If your image does not require transparency, the easiest fix is to convert large png to compressed jpg. The JPEG format was specifically designed to handle complex color photographs efficiently. However, if you must keep a transparent background (like for a company logo), you will need specialized tools to carefully compress png image to 200kb. For standard photographs and headshots, it is almost always better to compress jpeg image to 200kb.
How to Compress Image to 200KB Online Free
The fastest way to achieve your goal is by using a browser-based photo resizer no installation required. These tools are incredibly user-friendly and work on any operating system.
When you want to compress image to 200kb online, here is the standard workflow you should follow:
- Select a Reliable Tool: Open one of the best free online image compression tools (we will list our favorites below).
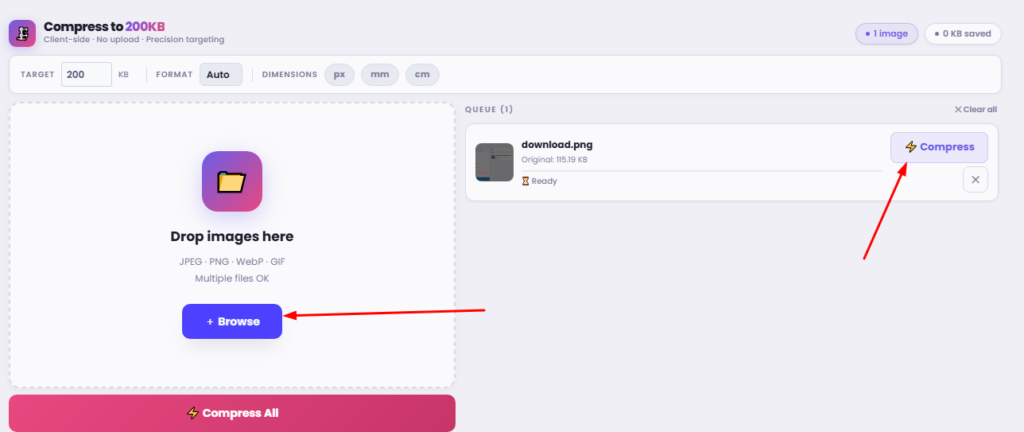
- Upload Your File: Drag and drop your oversized image into the browser window.
- Set Your Parameters: If the tool asks for a target size, type in “200KB.” If not, look for a quality slider. Dropping the quality to somewhere between 70% and 80% is usually enough to compress image to 200kb.
- Resize Dimensions (If needed): If the file is still too big, use the tool’s dimension settings. Scaling down the width to 1080px or 1920px is generally safe for web viewing.
- Download and Verify: Download your new file and double-check the size to ensure it meets your requirements.
Top Tools for Web Compression
Finding the right platform makes a world of difference. When you are looking to compress image to 200kb online free, these platforms lead the pack:
- TinyPNG / TinyJPG: Despite the name, this tool handles both formats beautifully. It uses smart lossy compression techniques to drastically reduce file sizes while maintaining excellent visual fidelity. It is highly recommended that you compress a PNG image to 200 KB.
- 11zon: This is a fantastic utility if you need to specify an exact file size limit. It features a dedicated module for shrinking images to exactly 200KB or below.
- Squoosh.app: Created by Google, this browser-based tool gives you granular control over the compression algorithm. It offers a stunning before-and-after slider so you can resize photos without sacrificing visual clarity.
- Bulk Resize Photos: If you are a social media manager or web developer, you might need to process hundreds of images at once. This tool allows you to seamlessly batch process images for web use in mere seconds, entirely within your browser.
Mobile Solutions: Compressing on the Go
We live in a mobile-first world. Often, you might be filling out an application directly from your smartphone when you hit an upload limit. Fortunately, you don’t need a desktop computer to fix this.
There is an abundance of mobile apps to reduce image kb available for both iOS and Android.
- For iOS Users: “Compress Photos & Pictures” is a highly-rated app that allows you to easily adjust photo quality and dimensions. You can use it to compress a JPEG image to 200 KB directly from your camera roll.
- For Android Users: Apps like “Photo Compress 2.0” or “Lit Photo” offer straightforward interfaces. They allow you to rapidly decrease photo megabytes to kilobytes before attaching them to your mobile emails or browser forms.
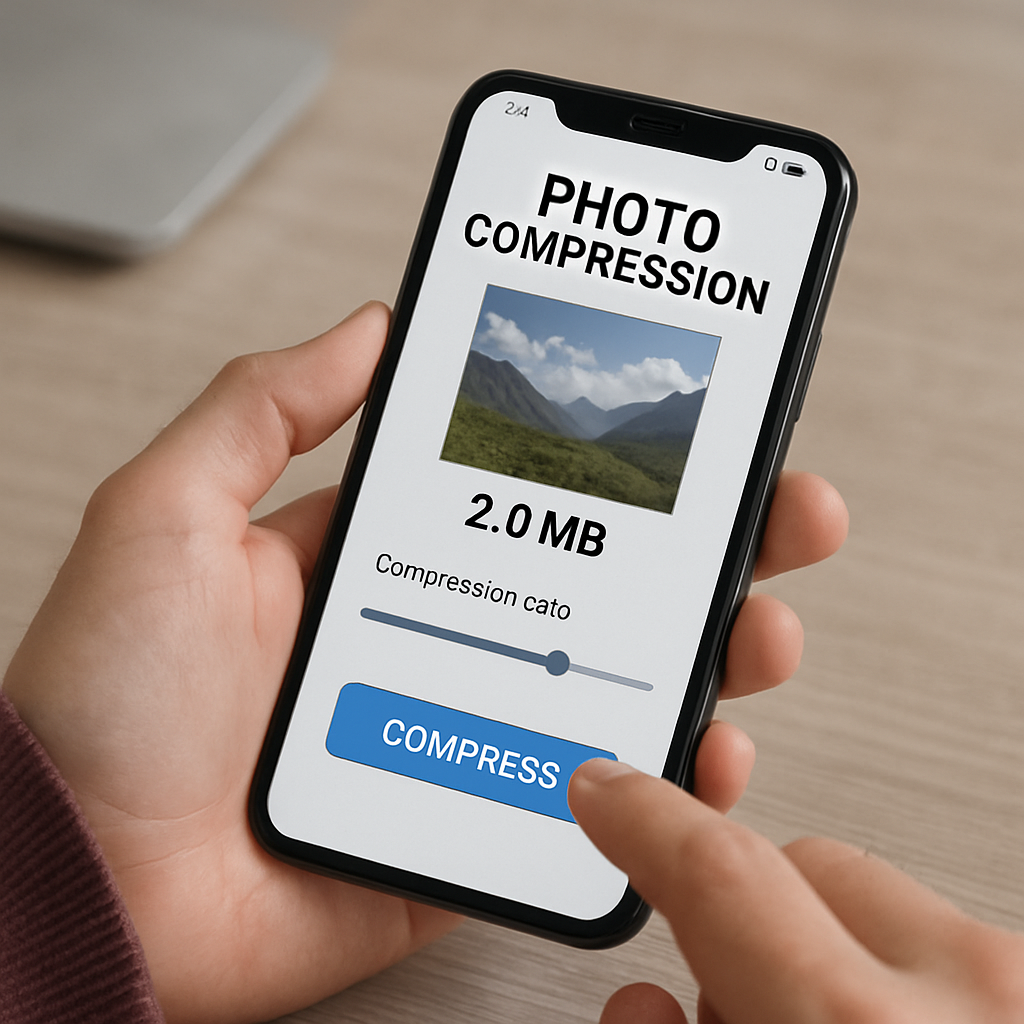
If you don’t want to download an app, remember that all the browser-based tools mentioned earlier work perfectly on mobile browsers like Safari and Chrome.
Pro Tips to Maintain Visual Quality
The biggest fear people have when compressing files is ending up with a pixelated, blurry mess. Here are expert tips to ensure your images look crisp, even at 200KB.
- Crop Before You Compress: If there is a lot of unnecessary background in your photo, crop it out first. Removing dead space naturally lowers the file size, meaning you won’t have to compress the main subject as aggressively.
- Avoid Over-Saving JPEGs: Every time you open a JPEG, make an edit, and hit “Save,” it applies a new layer of lossy compression. Always keep your original high-resolution file safely stored, and only apply compression to a copy of the file.
- Test Different Formats: Sometimes, the newer WebP format will yield a much smaller size than JPEG at the exact same quality. Many online converters will let you change your JPEG to a WebP to hit your 200KB goal without visual loss.
- Don’t Fixate on 100% Quality: In most software, saving a JPEG at “100% Quality” actually bloats the file unnecessarily. Dropping to 85% is virtually imperceptible to the human eye but can cut your file size in half.
Conclusion
Hitting a rigid file size limit doesn’t have to be a roadblock in your day. By understanding the basics of resolution, choosing the proper file format, and utilizing the incredible free tools available today, you can safely and quickly compress an image to 200kb.
Whether you opt for a browser-based photo resizer no installation required, or use specialized mobile apps, the power to optimize your digital life is right at your fingertips. Start compressing your images properly today to enjoy faster uploads, smoother website performance, and an end to those pesky “file too large” error messages!