
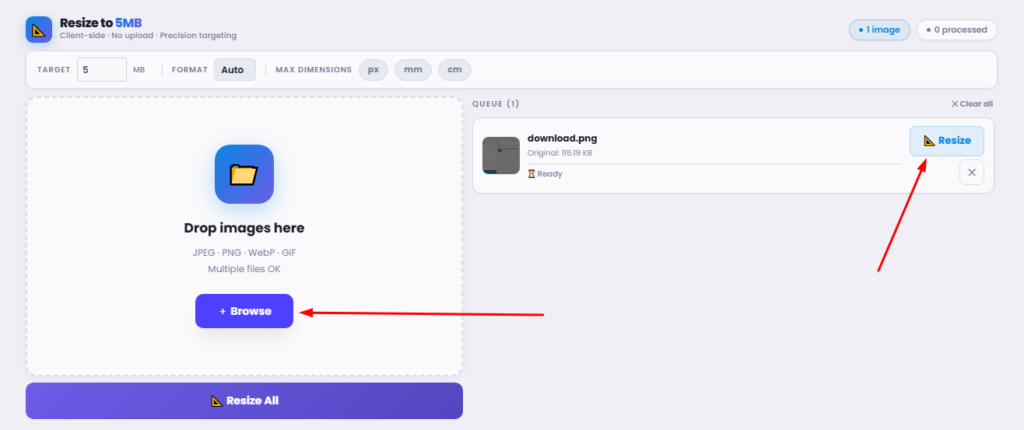
Multiple files OK
Add images using the panel on the left.
They'll appear here ready to resize.
How to Resize Images to 5MB
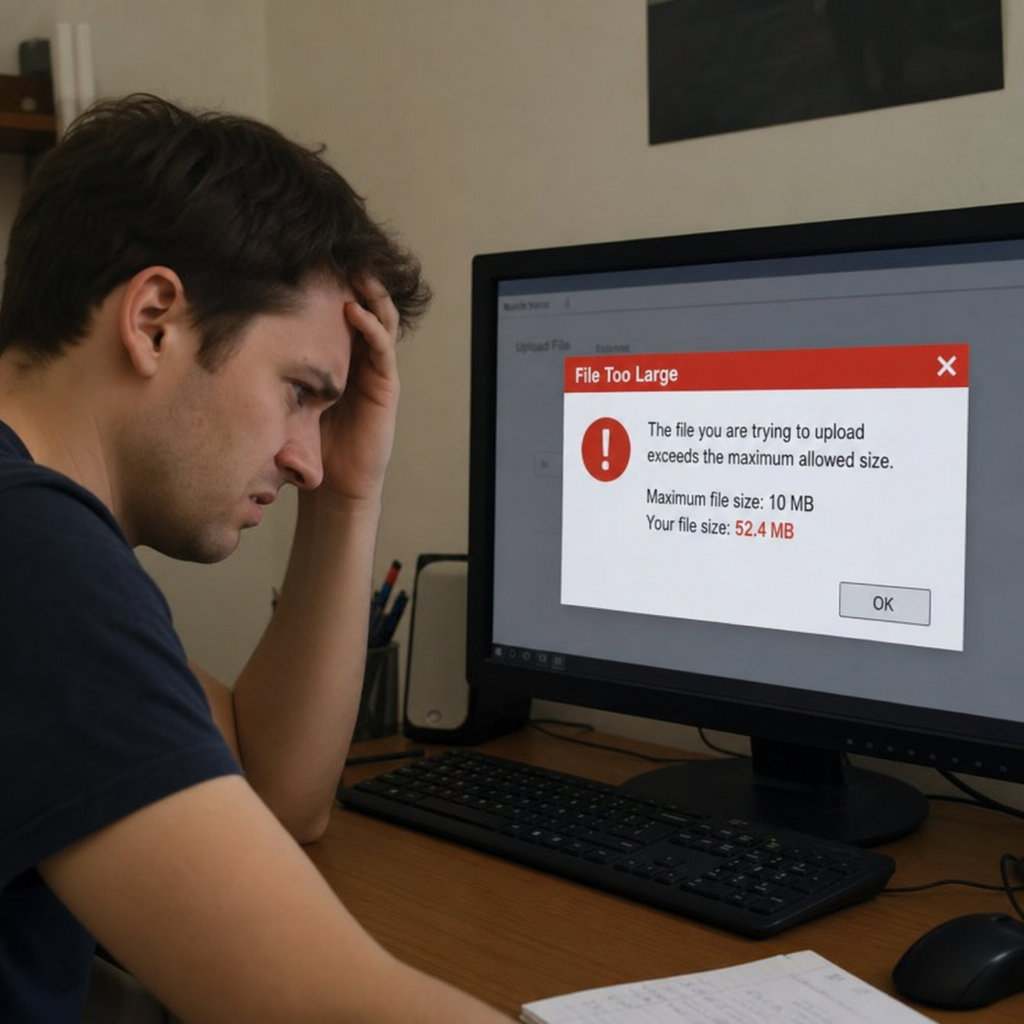
Have you ever spent hours perfecting a digital photograph, application form, or digital portfolio, only to be stopped dead in your tracks by a glaring red warning? There are few things more frustrating than encountering a digital roadblock when a website refuses your file. If you want to permanently fix the ” file size exceeded error for uploads, you have come to the right place.
Whether you are submitting documents for a visa, uploading a profile picture to a corporate directory, or adding product photos to your e-commerce store, learning how to seamlessly convert image to 5mb is an essential digital skill. A strict 5mb picture size limit is incredibly common across the web because it perfectly balances visual quality with fast website loading speeds.
In this comprehensive guide, we will explore exactly how to resize image to 5mb, taking you from basic concepts to advanced techniques, so your files are always accepted on the first try.
The Basics of Image File Sizes
Before we dive into the technical steps, it is important to grasp exactly what makes a digital file heavy or light.
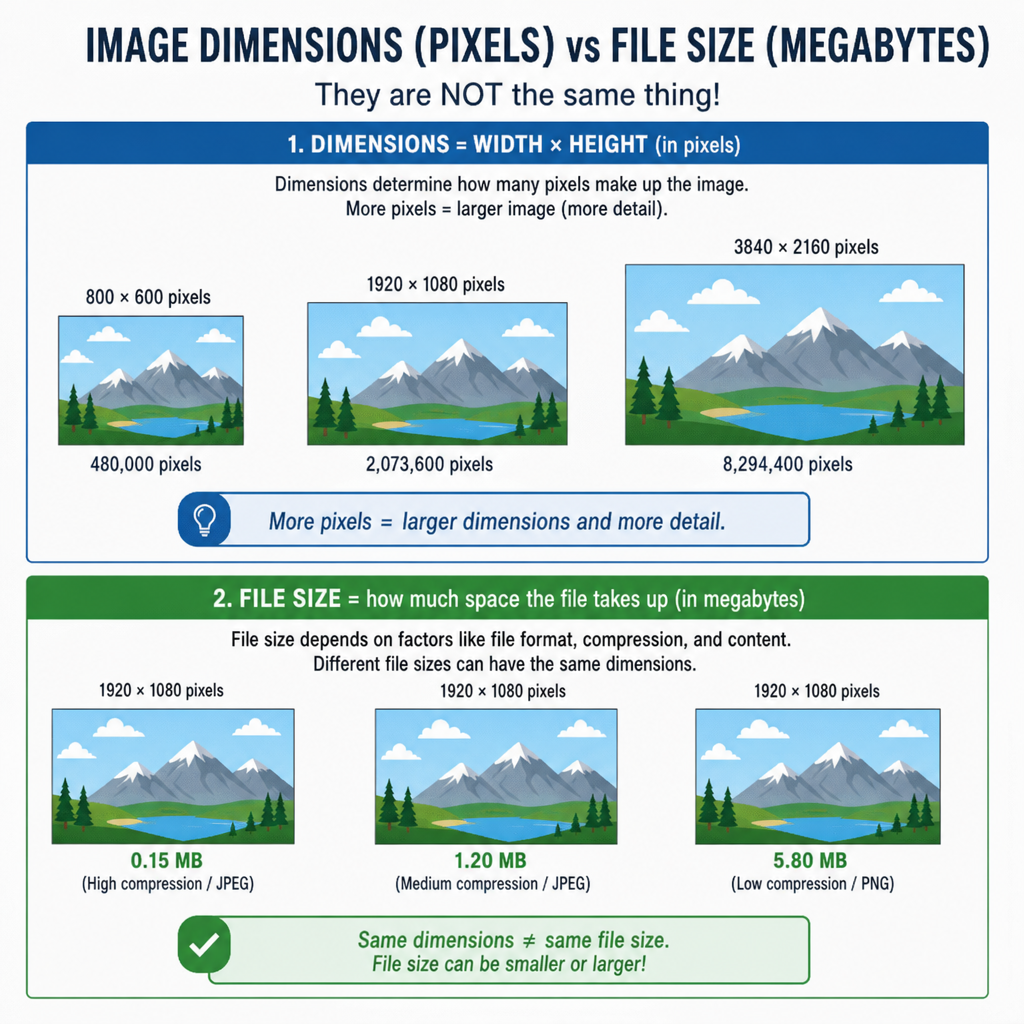
Understanding Megabytes vs Image Dimensions
One of the most common points of confusion for digital creators is understanding megabytes vs image dimensions.
- Image Dimensions: This refers to the physical width and height of your image on a screen, measured in pixels (e.g., 4000 x 3000 pixels).
- Megabytes (MB): This is the actual storage space or “weight” the file takes up on your hard drive.
While these two factors are intimately connected—larger dimensions generally mean larger megabytes—they are not the exact same thing; you can have a photo with large dimensions that takes up very little storage space if it contains simple, solid colors, just as you can have a physically smaller photo that is heavy in megabytes because it contains millions of complex color variations.
Why Is My Image File Too Large?
If you are wondering, “Why is my image file too large?”, the answer usually lies in the source of the photo. Modern smartphones (which often boast 48MP to 108MP cameras) and professional DSLR cameras capture an immense amount of data. They record fine details, dynamic lighting, and complex color profiles.
Furthermore, if you frequently use high-end digital assets, you might be dealing with a 100 mb size image download from a premium stock photography website or a raw camera file. While these massive files are incredible for printing billboards, they are completely unnecessary for a standard web browser. The goal is to distill that massive amount of data into optimized 5 mb size images that retain their visual appeal without overloading web servers.
The Science of Shrinking Files
To effectively compress image to 5 mb, you need to understand how compression algorithms work and which file types are best suited for your specific needs.
Lossy vs Lossless Image Compression Explained
When you use software to shrink a file, you are typically using one of two methods:
- Lossy Compression: This method permanently removes some of the data from your image to reduce the file size. It searches for colors and pixels that the human eye can barely distinguish and discards them. When done correctly, lossy compression allows you to reduce image file size without losing quality in a way that is noticeable to the naked eye.
- Lossless Compression: As the name implies, this method reduces file size without losing a single pixel of original data. It works by finding more efficient ways to encode the existing data (similar to how a ZIP file works). While this preserves perfect quality, it usually will not shrink a massive file down enough to meet a strict 5MB limit.
For almost all web-based applications, mild lossy compression is the preferred choice.
Best Image Formats for Smaller File Sizes
Not all image formats are created equal. Choosing the right one is half the battle when trying to convert image to 5mb.
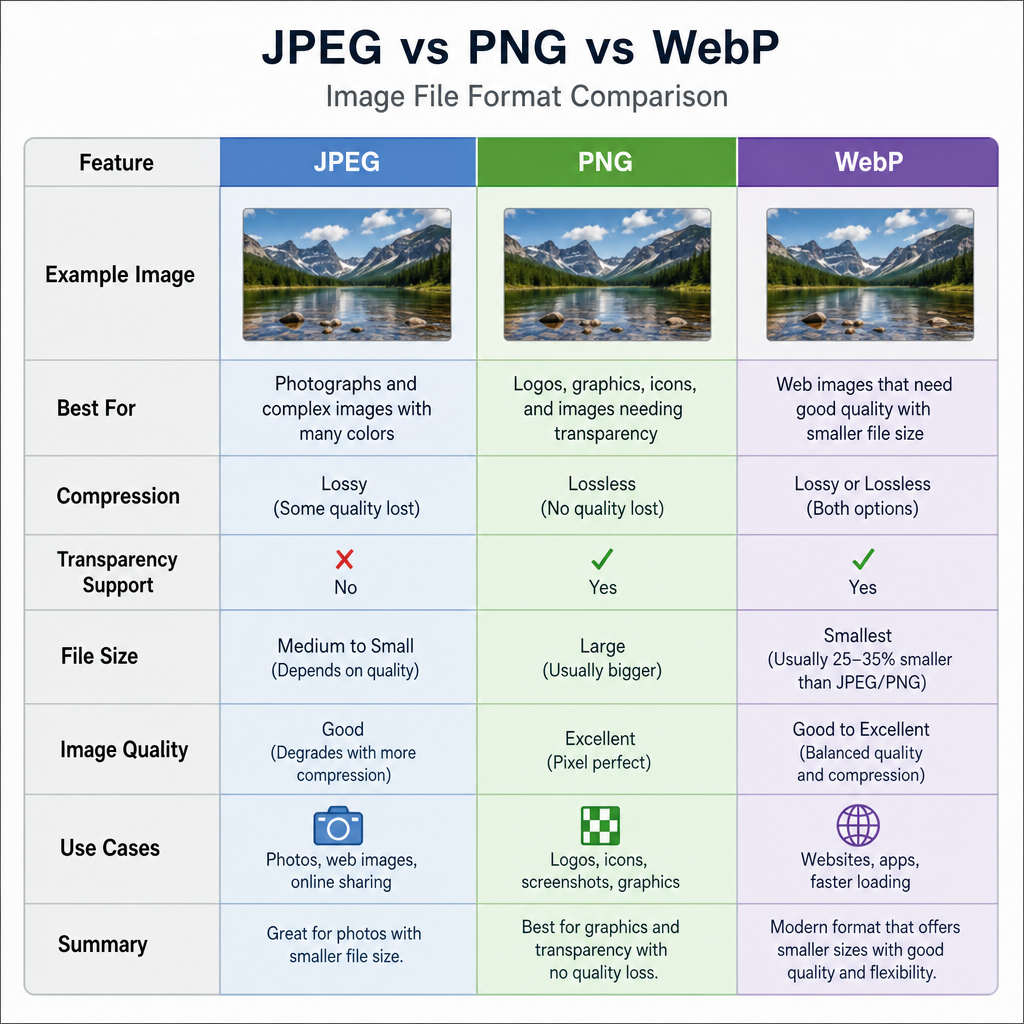
- JPEG / JPG: This is the undisputed king of web images. It utilizes lossy compression brilliantly. If you want to know how to change JPEG resolution for file size optimization, simply lowering the quality slider from 100% to 80% or 85% usually halves the file size while looking identical to the original.
- PNGs: PNGs are fantastic because they support transparent backgrounds, but they use lossless compression, making them notoriously heavy. It is highly recommended to optimize png images for email attachments by running them through a dedicated PNG compressor, or simply converting them to JPEG if you do not need a transparent background.
- WebP: Developed by Google, this next-generation format provides superior lossy and lossless compression. A WebP file is often 25% to 35% smaller than a comparable JPEG.
Step-by-Step Guide to Photo Resizing
Ready to take action? Here is a practical, step-by-step guide to photo resizing that guarantees a beautiful, lightweight result.
1. Adjust Image Dimensions for 5MB Limit
The most effective way to shrink a file’s footprint is to reduce its physical pixel count. If your camera output a photo that is 6000 pixels wide, it is far too large for a standard computer monitor.
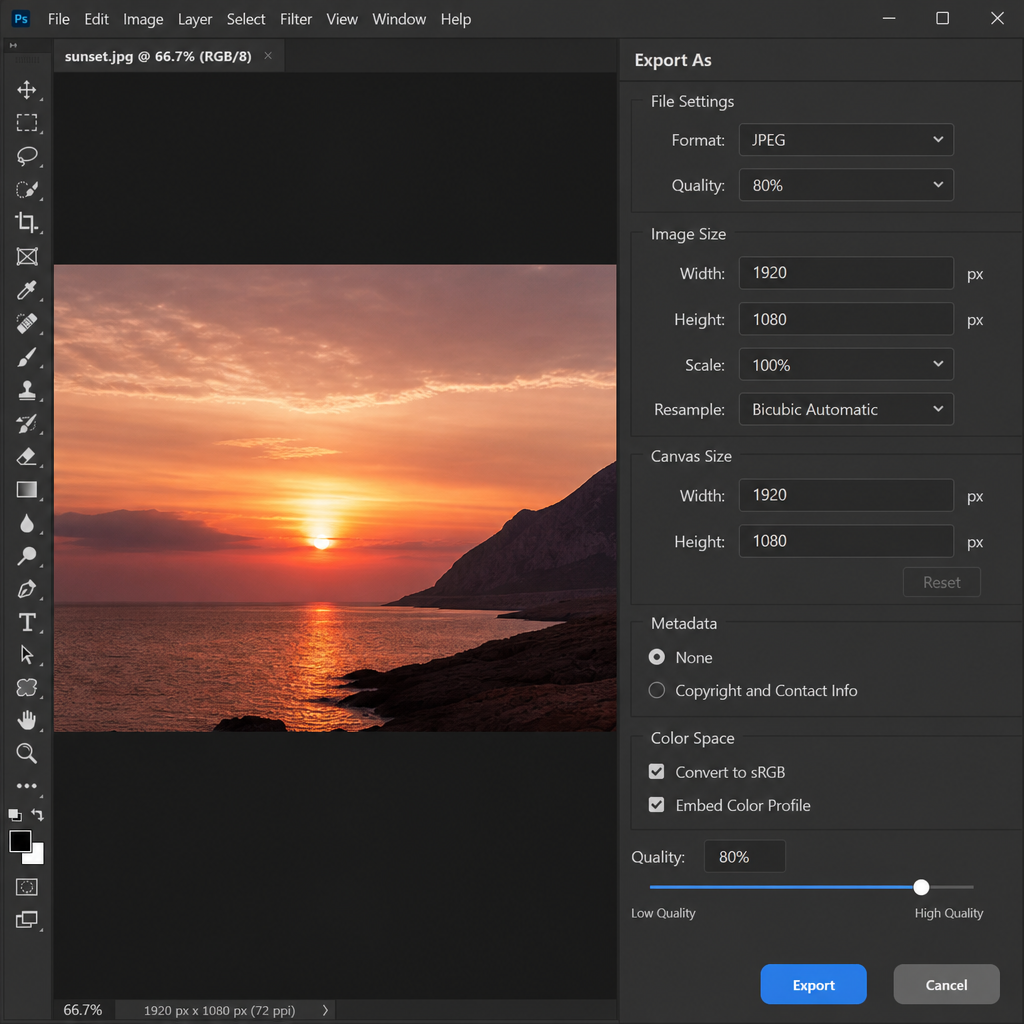
- To adjust image dimensions for the 5 MB limit, resize the longest edge of your image to between 1920 and 2500 pixels. This is widely considered the standard for full-screen web viewing.
- Ensure the “Constrain Proportions” or “Lock Aspect Ratio” box is checked in your software so your image does not become stretched or distorted.
2. Apply Compression and Export
Once the dimensions are reduced, it is time to compress. When saving your file, look for the quality slider (usually scaled from 1 to 10 or 1% to 100%).
- Drop the quality setting to around 75% – 85%.
- This specific range is the sweet spot that allows you to yield a perfect 5mb image without introducing ugly digital artifacts or pixelation.
3. Maintain Image Clarity While Shrinking Files
A common side effect of downsizing pixel dimensions is a slight loss of sharpness. To maintain image clarity while shrinking files, apply a very light “Unsharp Mask” or “Smart Sharpen” filter in your editing software just after you have reduced the dimensions, but before you export the final compressed file. This will make the edges pop and ensure your compressed photo looks just as crisp as the original.
Choosing the Right Tools for the Job
There are countless ways to tackle this task, but understanding the differences between your options will save you time. Let’s look at an online image compressor vs desktop software.
Online Image Compressors
For most casual users, figuring out how to resize photos for web uploads, browser-based tools are a lifesaver. Websites like TinyPNG, Squoosh (by Google), and FreeConvert allow you to simply drag and drop your photos directly into your browser.
- Pros: No installation required, incredibly user-friendly, highly optimized algorithms, and perfect for a quick conversion on the go.
- Cons: Requires an internet connection, and you must be comfortable uploading your personal files to a third-party server (which might be an issue for highly sensitive documents).
Desktop Software
If you are a professional or if you simply prefer keeping your files offline, desktop software like Adobe Photoshop, Lightroom, or even built-in OS tools (like Mac Preview or Windows Photos) is the way to go.
- Pros: Complete privacy, robust control over every single pixel, and access to high-resolution photo compression techniques that online tools simply cannot match.
- Cons: Can have a steeper learning curve, and some software requires a paid subscription.
Advanced Workflows and Techniques
Handling Large Volumes of Photos
If you are a photographer delivering a gallery to a client, or a web developer populating an e-commerce site, resizing photos one by one is an immense waste of time. Instead, you should batch process images to a specific size.
Programs like Adobe Lightroom, or free alternatives like FastStone Photo Resizer, allow you to select hundreds of images at once. You can set a rule to limit file size to exactly 5000KB (5MB), apply your desired dimension constraints, and let the software process the entire folder in minutes.
Testing Your Results
Once you have processed your files, it is highly recommended to verify your work. You can hover over the newly saved file on your computer to check its properties. Alternatively, you can do a quick 5 mb size image download from an optimized web source to compare the visual quality and loading speed against your newly compressed file. Seeing how standard web images look up close will give you a benchmark for your own compression efforts.
Conclusion
Encountering an upload error does not have to ruin your workflow. By taking a few moments to understand the mechanics of digital files, you can easily take control of your digital assets.
Remember the core concepts: understand the difference between dimensions and megabytes, choose the right file format (like JPEG or WebP), use smart dimension resizing, and apply mild lossy compression. Whether you choose to use an intuitive online tool or rely on robust desktop software, you now possess all the necessary high-resolution photo compression techniques to effortlessly convert image to 5mb.
The next time a website portal demands a smaller file, you will know exactly how to resize photos for web uploads. By integrating these practices into your regular digital routine, you will ensure faster upload times, cleaner email attachments, and a smoother experience across the digital landscape.