
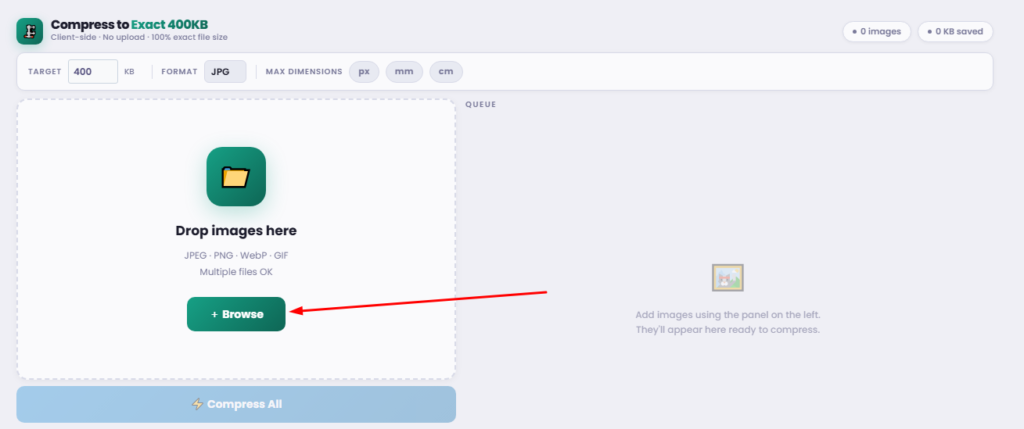
Multiple files OK
Add images using the panel on the left.
They'll appear here ready to compress.
Top Image Compressors for 400KB Limit
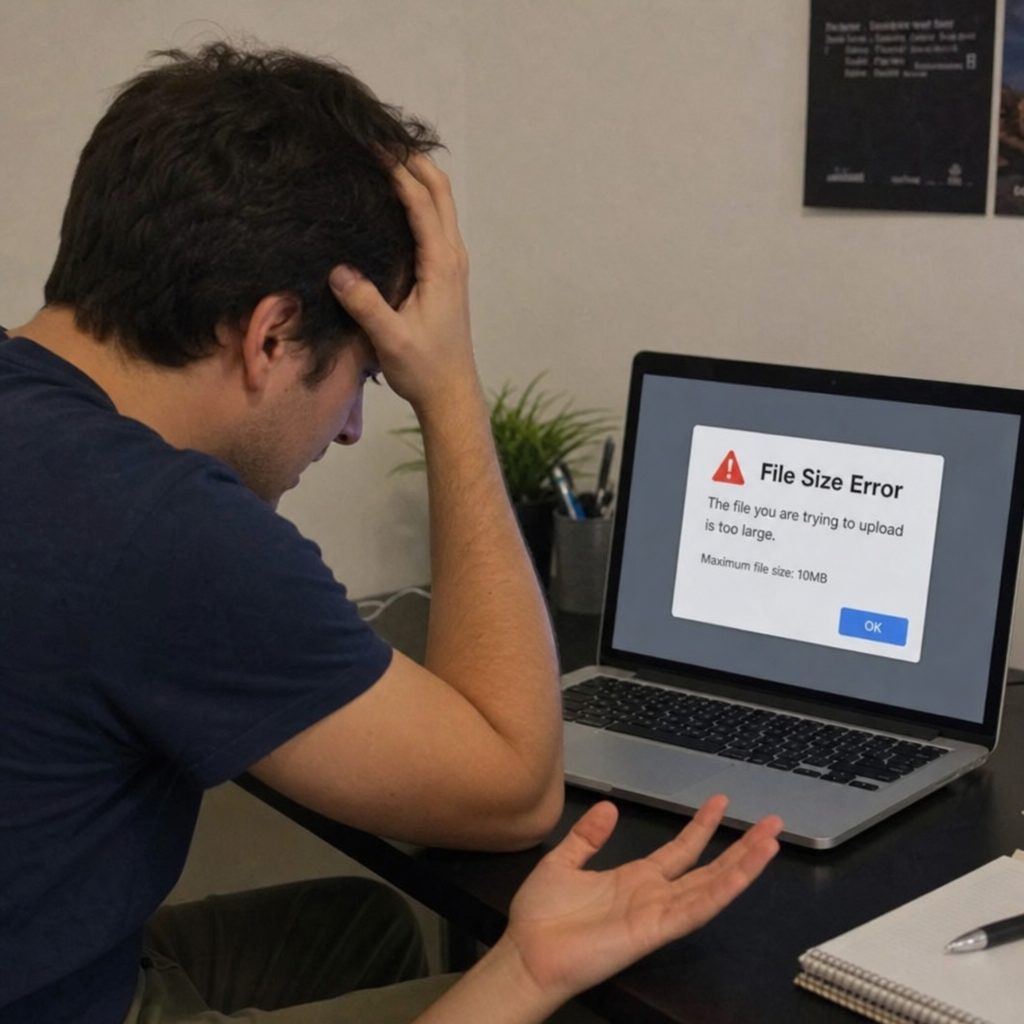
Have you ever spent hours perfecting an online job application, government form, or college admission profile, only to be stopped by a frustrating red error message: “File too large”?
Fixing file size limit errors on forms is one of the most common digital headaches we face today. Modern smartphones and digital cameras capture incredibly detailed photos, often resulting in file sizes of 5MB, 10MB, or even larger. However, most online portals have strict upload limits to save server space and ensure fast loading times. When a website demands a smaller file, finding a reliable image compressor to 400kb is your fastest route to success.
In this comprehensive guide, we will explore everything you need to know about downsizing your digital files. From finding the perfect tool to compress to 400kb, to understanding the technical side of image optimization, you will learn how to easily prepare your photos and documents for any digital platform.
Why is the 400KB Limit So Common?
Before diving into the technicalities of compression, it is helpful to understand why this specific size limit exists. Online databases host millions of user files. If everyone uploaded 10MB images, servers would quickly run out of storage, and websites would slow to a crawl. A 400KB limit is the “sweet spot” for web developers. It is large enough to maintain a clear, legible, and recognizable image (like a passport photo or a scanned ID), but small enough to process instantly.
If you are wondering how your current files stack up, learning how to check image resolution and size is your first step. On a Windows PC, simply right-click an image and select “Properties.” On a Mac, right-click and choose “Get Info.” On mobile devices, swiping up on a photo in your gallery usually reveals the file size in megabytes (MB) or kilobytes (KB). If your file is over 400KB, it’s time to compress.
Finding the Best Tools for the Job
You don’t need to be a graphic designer or a tech wizard to shrink a photo to a specific KB limit. There are countless tools available across all devices that can handle this task in seconds.
1. Web-Based Platforms
For most users, the best free online photo resizers are the most convenient option. You don’t have to download any software; you simply drag and drop your file into the browser. Look for a dedicated photo compressor to 400kb that allows you to input your desired target size. These tools use smart algorithms to instantly reduce image size to 400 KB or less.
If you have a whole folder of images—perhaps a gallery for a website or multiple scanned documents—look for a batch image compressor for the web. This feature allows you to upload dozens of photos at once, compressing all of them to your target size simultaneously, saving you significant time.
2. Desktop Software
Built-in applications like Microsoft Paint or Apple Preview offer basic resizing features. By simply opening an image and adjusting its dimensions, you can often significantly lower the file size. More advanced users might prefer Adobe Photoshop, which offers a “Save for Web” feature that gives precise control over the final KB output.
3. Smartphone Applications
If you are applying for something directly from your phone, transferring photos to a computer can be a hassle. Thankfully, the app stores are full of mobile apps for shrinking image storage. Search for terms like “compress JPEG to 400kb” in your app store, and you will find dozens of intuitive apps that allow you to select a photo, choose a target size, and save the compressed version directly to your camera roll.
The Science of Compression: Quality vs. Size
When you use an image compressor to 400kb, what is actually happening behind the scenes? To reduce JPG file size without losing quality (at least to the naked eye), you need to understand the two main types of digital compression.
Lossy vs Lossless Compression Methods
- Lossy Compression: This method permanently removes some of the data from your image to drastically reduce the file size. Don’t let the word “lossy” scare you. Smart lossy compression algorithms discard color variations that the human eye cannot even perceive. This is the best method when you need to resize an image to 400 KB from a massive 5MB original.
- Lossless Compression: This method reduces file size without losing any image data. It works by removing metadata and rewriting the file more efficiently. While it preserves 100% of the original quality, it usually only reduces the file size by 10% to 20%. If your original image is 450KB, lossless compression might be enough to get you under the 400KB mark. However, for larger files, lossy compression is required.
Step-by-Step: How to Resize Photos for Online Applications
If you are ready to convert an image to 400 kb, follow these practical steps to guarantee a perfect upload every time.
Step 1: Adjust the Pixel Dimensions
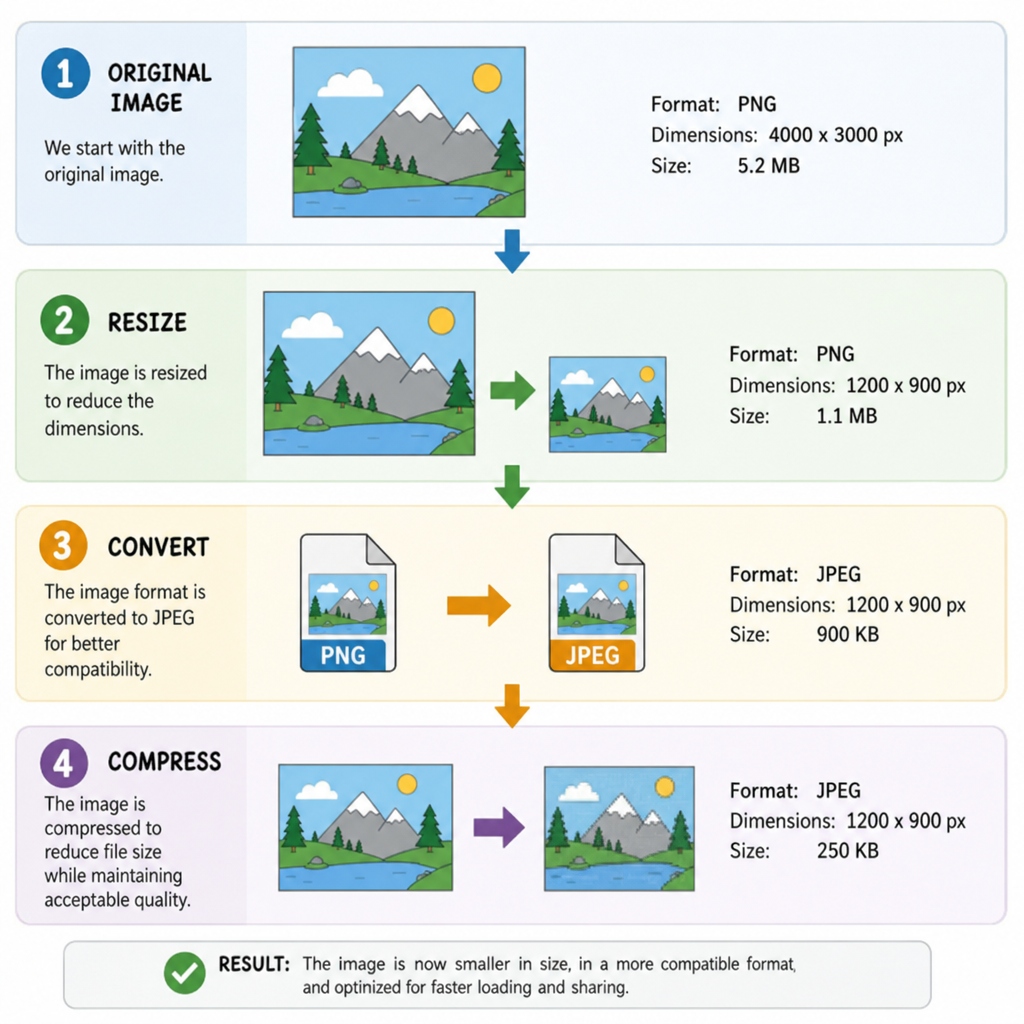
Often, file sizes are massive simply because the image dimensions are huge. A photo taken on a modern iPhone might be 4000 pixels wide. No online application needs an image that large. By adjusting pixel dimensions for smaller files (e.g., resizing the width to 1000 or 800 pixels), you will instantly slash the file size.
When doing this, ensure your software is set to lock the aspect ratio. Maintaining aspect ratio while downsizing images prevents your photo from becoming stretched or squished, keeping you looking like yourself in that new profile picture!
Step 2: Choose the Right File Format
Different image formats store data differently. PNG files are fantastic for graphics with transparent backgrounds, but they create very large files. If you are struggling with a large PNG, simply convert the PNG to JPEG to save space. JPEGs are highly compressible and are the standard format required by most online application portals.
Step 3: Strip the Hidden Data
Every time you take a photo, your camera attaches hidden text to the file called EXIF data. This includes the date, time, camera model, and even GPS coordinates of where the photo was taken. While this data is small, it adds up. If you are struggling to reach a strict limit, you can remove metadata to reduce file size using online metadata removal tools or your computer’s built-in file properties menu.
Step 4: Run the Compression
Finally, upload your tweaked JPEG to your chosen image compressor to 400kb. Set your target, click compress, and download the optimized file.
Handling Documents: When You Need to Resize PDFs
While we have focused heavily on images, online applications frequently ask for documents like resumes, cover letters, or scanned transcripts in PDF format. Just like images, these portals often cap PDF uploads at 400KB.
If your document is packed with high-resolution scans or complex graphics, it will easily exceed this limit. To resize PDF 400 KB files, standard image editors will not work. Instead, you need to use a dedicated PDF converter 400 KB tool.
These tools work similarly to image compressors. They scan the PDF and compress the embedded images within the document. When using a PDF compressor to convert to 400kb, be sure to review the final document before uploading. You want to ensure that text remains crisp and that any scanned signatures or IDs are still fully legible.
Beyond Applications: Everyday Uses for Image Compression
Learning how to compress files is not just for filling out forms. It is a highly valuable digital skill with several other practical applications.
1. Speeding Up Your Website
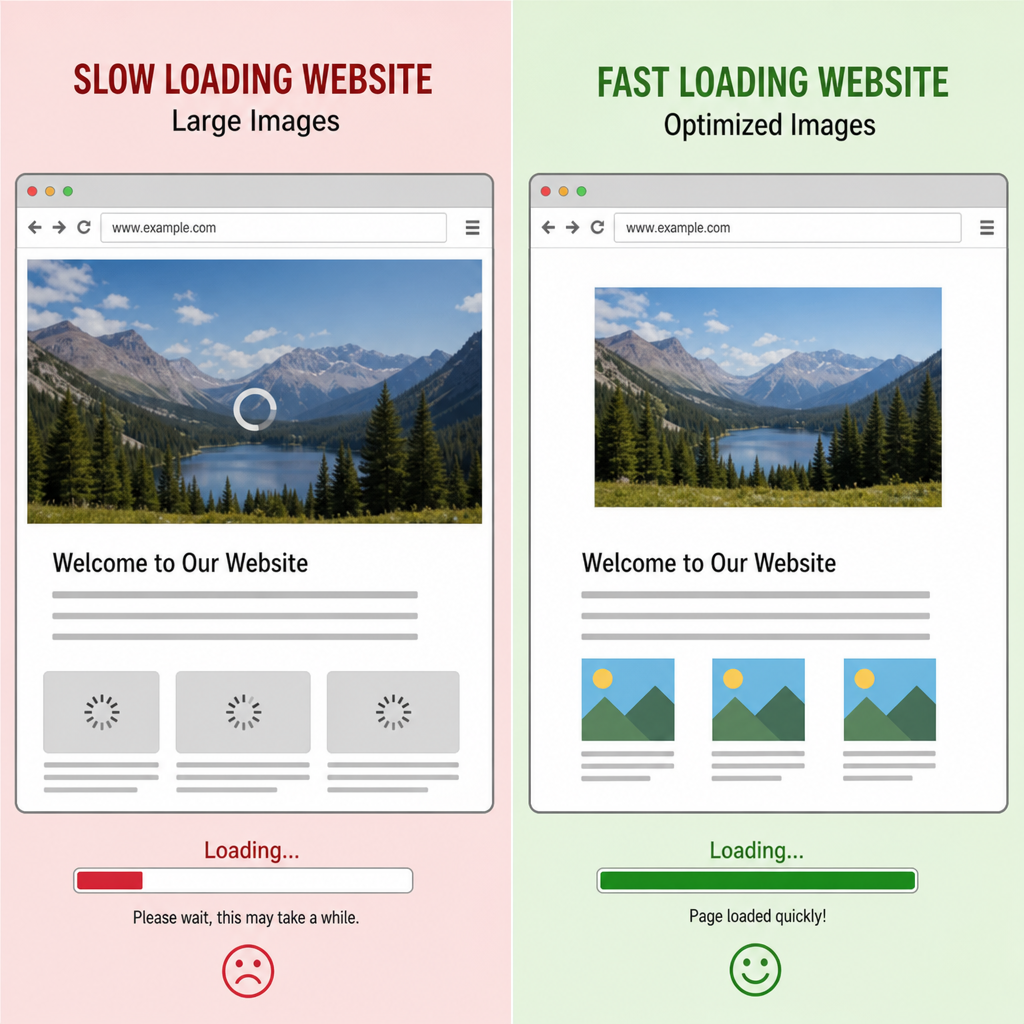
If you run a blog, a portfolio, or an e-commerce store, large images are your worst enemy. Heavy images cause pages to load slowly, which frustrates visitors and hurts your search engine rankings. Optimizing images for faster website loading is a fundamental rule of web design. Using a batch compressor to ensure all your blog images are under 400KB will significantly boost your site’s speed and performance.
2. Social Media Optimization
While platforms like Instagram and Facebook compress images automatically, relying on their built-in algorithms can sometimes result in blurry, pixelated photos. By taking control and applying the best compression settings for social media before you upload, you ensure that your images retain the highest possible visual quality while meeting the platform’s background size requirements.
Final Thoughts
Navigating the digital world shouldn’t be blocked by arbitrary file size limits. Whether you are applying for your dream job, submitting a passport renewal, or simply trying to speed up your personal blog, knowing how to manage your digital files is incredibly empowering.
By utilizing the right image compressor to 400kb, understanding the basics of lossy and lossless compression, and following standard resizing practices, you can confidently bypass those frustrating upload errors. Remember to always double-check your compressed files for clarity before submitting them, ensuring that even at a fraction of their original size, your images and documents leave a high-quality, professional impression.